
Creating a table
Here is a little insight into making a piece of furniture. You don’t have to be megga rich to have a bespoke piece of furniture made…a love of wood and all the variety of grains and finishes is a starting point. Or you may have an awkward space where you need something tailor made, … a new kitchen dining room that needs a really special dining table or desk, or piece of fitted furniture.
Today we are starting to make a small simple dining table from character oak which needs wheelchair access and also we have been asked to keep it quite low - no higher than 73cm to the top of the table surface, with enough space underneath for the wheel chair. Check out our insta for a quick video…
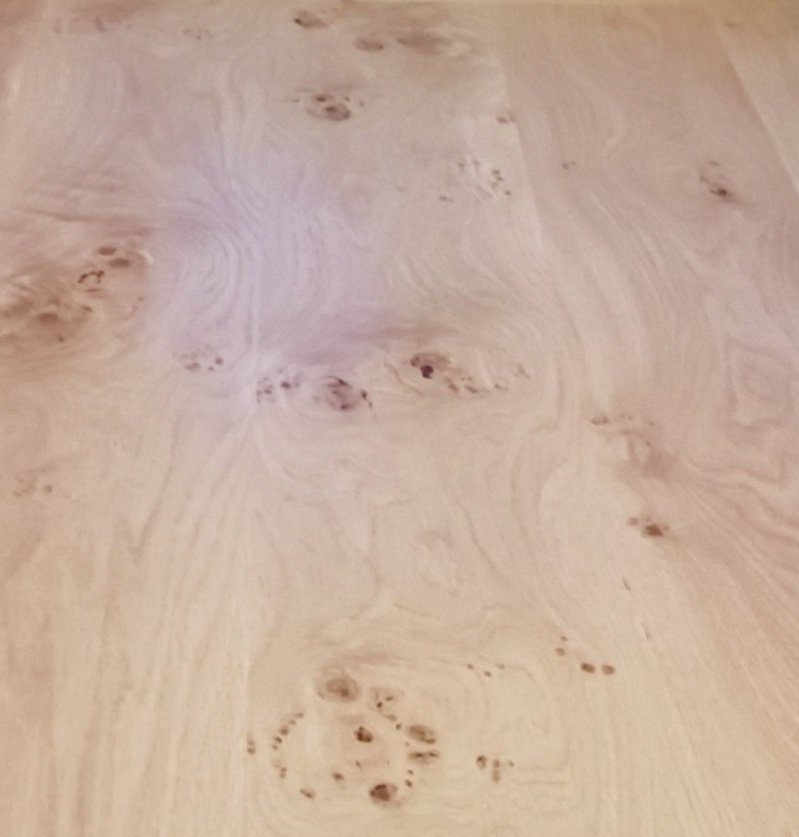
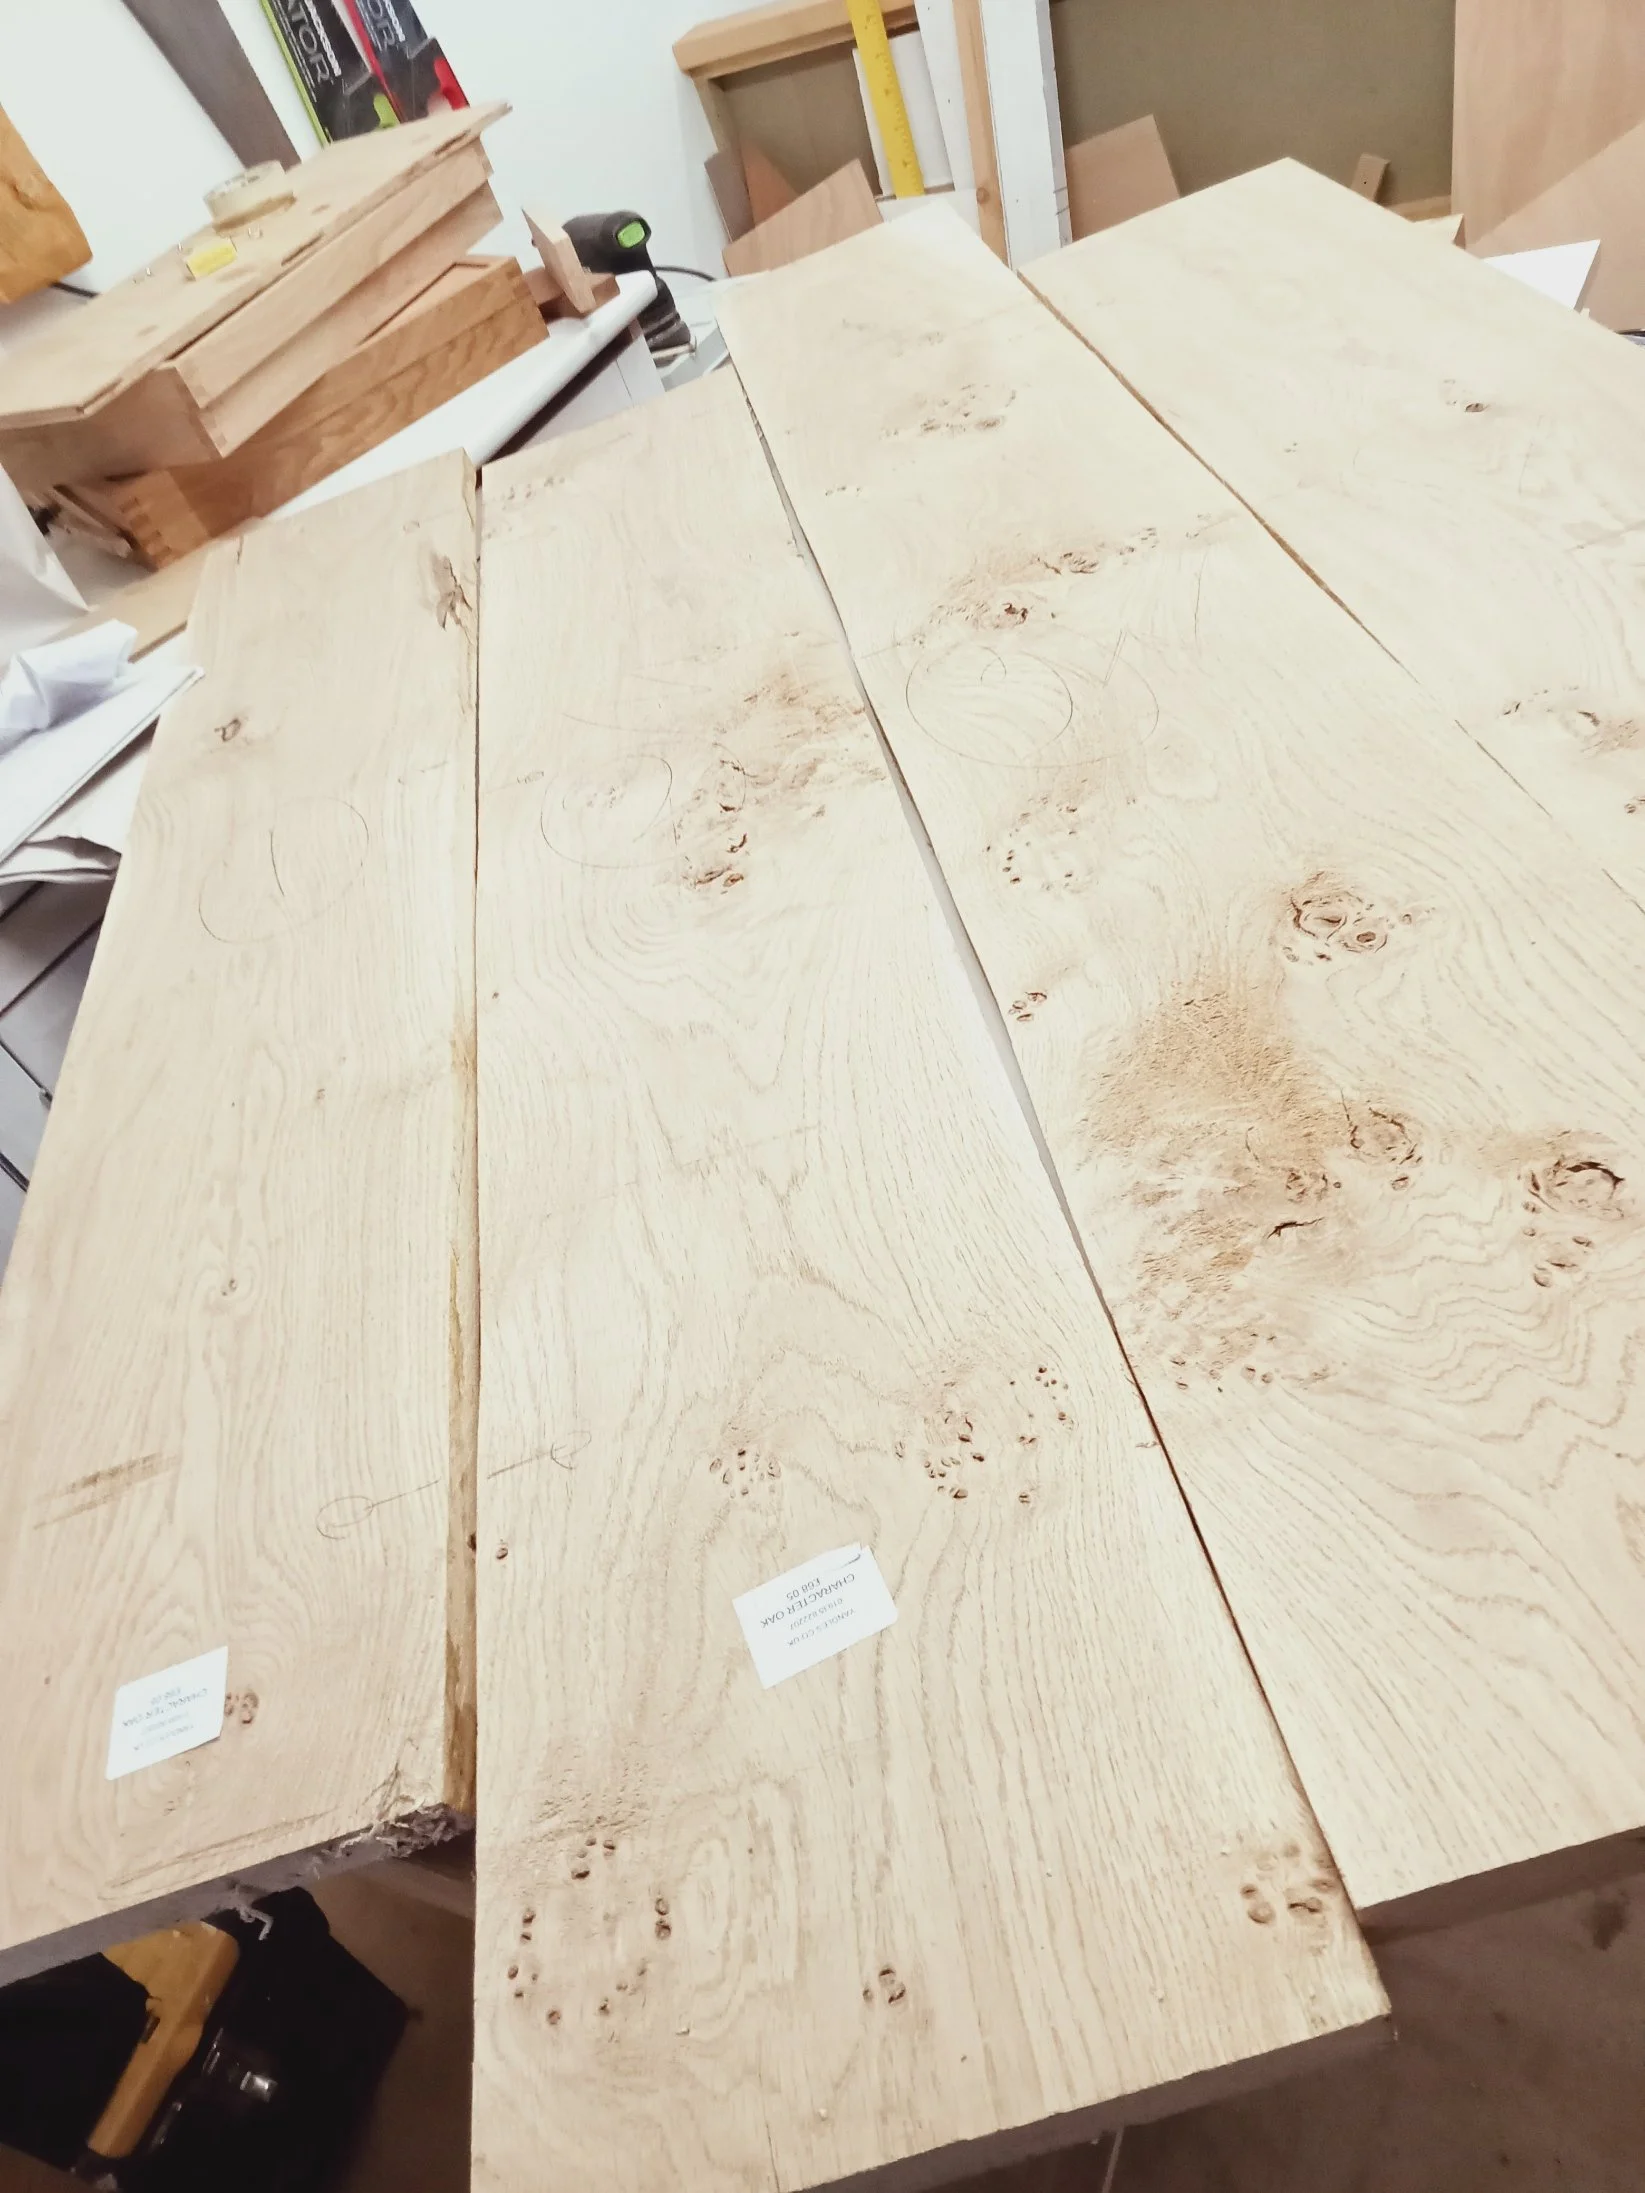
The thing about character woods is that no two pieces are ever the same (or any wood for that matter, but it is more obvious when using character wood)…so each piece needs careful selection to ensure the whole table will look balanced.

Finished & Delivered!
Pippy oak dining table with hard wax finish for extra protection..just need some new chairs to go with it now!!….might have to check out Bridport Vintage market!


Pre Oiling sanded down
Two coats of hard wax for maximum protection for a dining table to be done next….
The process - see the gallery below for further info
The pictures are from the bottom to the top…
first choosing the wood..from a nice selection of English woods with different interesting grains (elm, chestnut ash, oak). The client wanted a pale wood and already has an oak laminate floor in his bungalow, with other darker furnishings, so we didn’t want to use anything too blonde - the maple was discounted; so we thought oak but with character which once finished will be a little darker..more towards a honey colour.
So - then - setting to work -
first planing the top and bottom of each piece (bottom can be quite rough sometimes so planing really brings out the grain and evens the wood up if it is a little uneven),
cutting them to size, deciding how the pieces will work together - this time we are making a ‘box’ underneath and having the table overhang this & the legs to enable more room for the wheelchair. We are also creating a border with mitred joints as more of the the pippy (or character) oak is then seen.
Creating the legs using the bandsaw which cuts a slight curve - in this case, as it is a simple design for a kitchen style table the legs are quite chunky - and not particularly long but Simon has put a slight curve on them.
Next - the wood will need gluing and clamping before finally attaching the box beneath the table top, then the legs.
Then more sanding and finishing…we chose 2 coats of hard wax with a tiny amount of die to bring out and deepen the grains..which we experimented with to find the right degree of colour.


.